Set Time on an Automatic Pet Feeder: Quick Steps
How to set time on automatic pet feeder?
Setting the time on an automatic pet feeder is the step that makes every scheduled meal land at the right moment. Most models follow the same logic: enter “clock” (current time) mode first, adjust hours and minutes, confirm, then move on to meal schedules.
Answer
1) Power up and find the clock/time setting
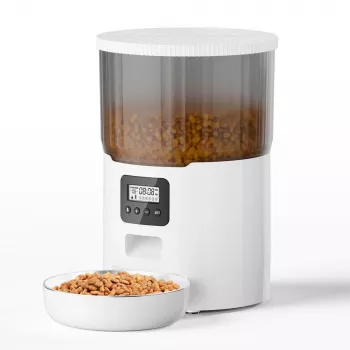
Plug the feeder in (and install backup batteries if your unit supports them). On the control panel, look for buttons labeled “Clock,” “Time,” “Set,” or a gear/menu icon. Many feeders require a long-press (about 2–5 seconds) on “Clock/Set” to enter time-setting mode until the hour starts flashing.
2) Choose the correct time format (if available)
Some feeders let you switch between 12-hour and 24-hour time. If you see an “AM/PM” indicator or a 24H option, set it now so scheduled feedings won’t trigger 12 hours off.
3) Set the current hour
Use the “+ / -” keys or arrow buttons to adjust the hour. On 12-hour systems, double-check AM vs. PM. Confirm the hour with “OK,” “Set,” or a short press on “Clock,” depending on the model.
4) Set the current minutes
When the minutes flash, adjust them with the same “+ / -” or arrow controls. Press “OK/Set” again to save. If the display stops blinking, the current time is usually locked in.
5) Confirm by checking scheduled meals
After setting the clock, review your programmed feeding times. If your feeder displays meal slots (Meal 1, Meal 2, etc.), scroll through them to ensure they align with the correct current time.
Need model-specific button steps?
For a walkthrough tailored to a popular 4L smart automatic pet feeder with timer and voice features, use this guide: https://supremechoiceden.shop/guide-4l-smart-automatic-pet-feeder-voice-timer-stainless-steel-bowl/.
FAQ
Why is my automatic pet feeder feeding at the wrong time?
This usually happens when the clock wasn’t saved correctly, AM/PM is flipped, or the feeder reset after losing power. Re-set the current time, confirm the time format, and add fresh backup batteries if your model supports them.


Leave a comment