5 Basic Origami Folds Explained (Valley to Reverse)
What are the 5 basic origami folds?
The five basic origami folds are the valley fold, mountain fold, squash fold, inside reverse fold, and outside reverse fold. These foundational moves show up in countless beginner and intermediate models, from cranes and boats to simple animals and flowers. Mastering them helps paper hold clean lines, crisp corners, and smooth shaping as a model becomes more detailed.
Answer
1) Valley fold
A valley fold is made by folding the paper toward you so the crease dips inward like a “V” valley. It’s the most common fold and is used to create edges, halves, and preliminary guides for later steps.
2) Mountain fold
A mountain fold is the opposite of a valley fold: you fold the paper away from you so the crease sticks up like a ridge. Mountain folds often pair with valley folds to create pleats and collapses that give models structure.
3) Squash fold
A squash fold opens a flap and “squashes” it flat into a new shape, usually forming a kite- or triangle-like section. It’s a quick way to turn a pocket into a crisp, symmetrical layer that can become petals, wings, or limbs.
4) Inside reverse fold
An inside reverse fold turns a point inward along an existing crease, hiding the tip inside the model. This is commonly used for shaping beaks, tails, and heads while keeping the outside silhouette clean.
5) Outside reverse fold
An outside reverse fold flips a point outward instead of tucking it in. It’s useful when you want a feature—like a horn, ear, or tail—to stand out from the body with a sharp, controlled angle.
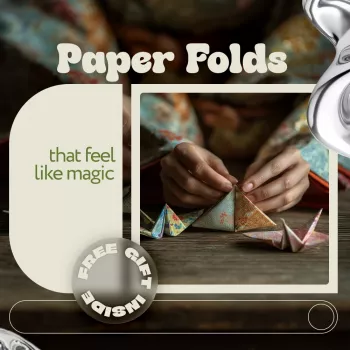
For a calming, step-by-step breakdown (plus a simple routine to practice these moves), visit the full guide here: Mindful Origami for Beginners: 5 Basic Folds.
FAQ
What paper is best for practicing origami folds?
Lightweight origami paper (often 70–90 gsm) is easiest for clean creases and repeated folding. Standard printer paper works for practice, but it’s thicker and can get bulky on models with many layers.


Leave a comment